In 4 Steps: Putting a new product in your WooCommerce shop
The advantage of WooCommerce is that the shop makes use of the existing features and appearance of WordPress.
Although you see many possibilities, creating a new product is similar in many ways to creating regular WordPress pages and posts.
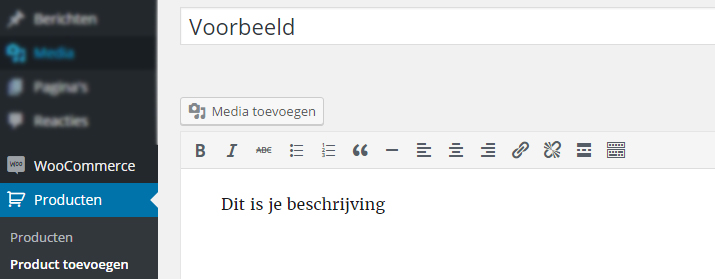
Step 1: Title and Description
The title you choose is very important for visitors and for your position in Google. The product title is also used as the link/page name.
The description should correspond to the product and provide an explanation. It is your opportunity to sell the product and be found in Google.
A description of 200-300 words is recommended at a minimum. For example, you can describe what the product does, its benefits, and how to use it.
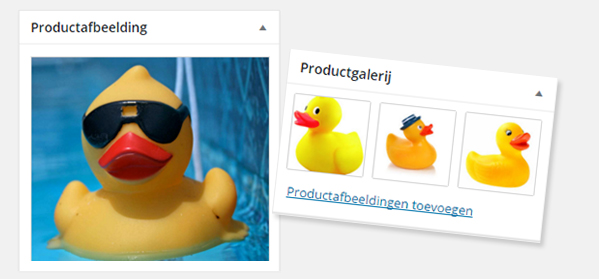
Step 2: Product Image
The product images determine 50% of whether you sell the product or not.
TIP: Make sure you have multiple images of the product!
Think of 1 clear image/photo and multiple photos taken from different angles. Don’t be fooled by the small size you see in the product gallery because visitors often click on it and then see a larger version on the website.
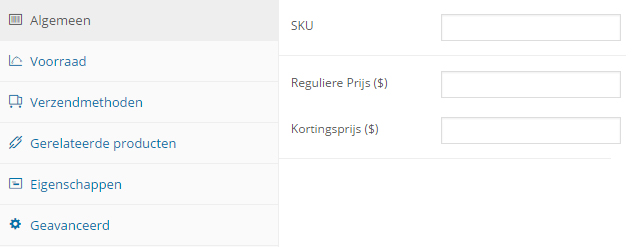
Step 3: Price, Shipping Method, and More..
This is often the moment when you take a deep breath because there are only a few fields you need to fill in, but there are so many options to see!
Don’t be intimidated; what you mainly need to fill in are:
- Selling price
- Quantity (if you have a stock that can run out)
- Extra: related products (display other products)
- Extra: enter some dimensions and weight
- Extra: enable/disable the rating option
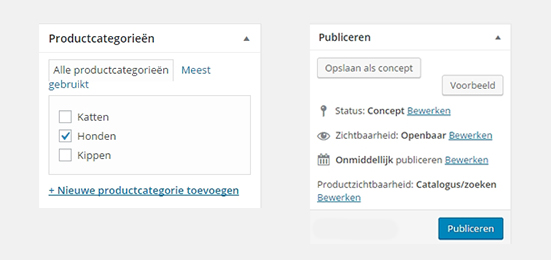
Step 4: Categorize and Publish
Finally, choose a category so that you can easily find the product and show visitors more similar products.
You’re familiar with save as draft or publish from pages and posts, but don’t forget the blue button 😉
